Baxter Cheat Sheet
Welcome to the cheat sheet for the Baxter robot.
Useful links
- Baxter uses ROS indigo.
- Installation according to ROS: http://wiki.ros.org/indigo/Installation/Ubuntu
- Installation according to Alessandro: https://alecive.github.io/ros_installation.html, http://wiki.ros.org/indigo/Installation/Source
- Baxter:
- Setup (see the following for the setup)
- Hello Baxter
- Baxter API
- Alessandro’s ROS tips and tricks
How to use the robot
How to turn it on
- Turn on the robot by pressing the button in the back of its base. Wait for the robot to finish its start-up phase (it takes a couple minutes).
- Be sure that the system you’re running the code has access to the Baxter robot. This is usually done by running the
baxter.shscript that should be provided in your Baxter installation. See here for more info. Important → for what concerns the Baxter robot on the ScazLab, this means that every time you have to run some ROS software to be used on the robot you should open a new terminal, and do the following: ` cd ros_devel_ws && ./baxter.sh. A change in the terminal prompt should acknowledge that you now have access tobaxter.local`. Please be aware of this fact when you operate the robot. - Untuck the robot. We have an alias for this, so you just have to type
untuckin the terminal you previously opened.
How to turn it off
- Tuck the robot. We have an alias for this, so you just have to type
tuckin a terminal with access to the robot system. - Shut down the robot with the button in the back of its base.
Software Infrastructure
This is the software infrastructure that we are currently using to perform human-robot collaborative tasks with the Baxter robot:
- Baxter collaboration: The interface with the Baxter (low level) is done in this repository. In there, both perception and control are taken care of. The repository readme also details the components of the architecture.
- HTM: High level POMDP planning is done in this repository.
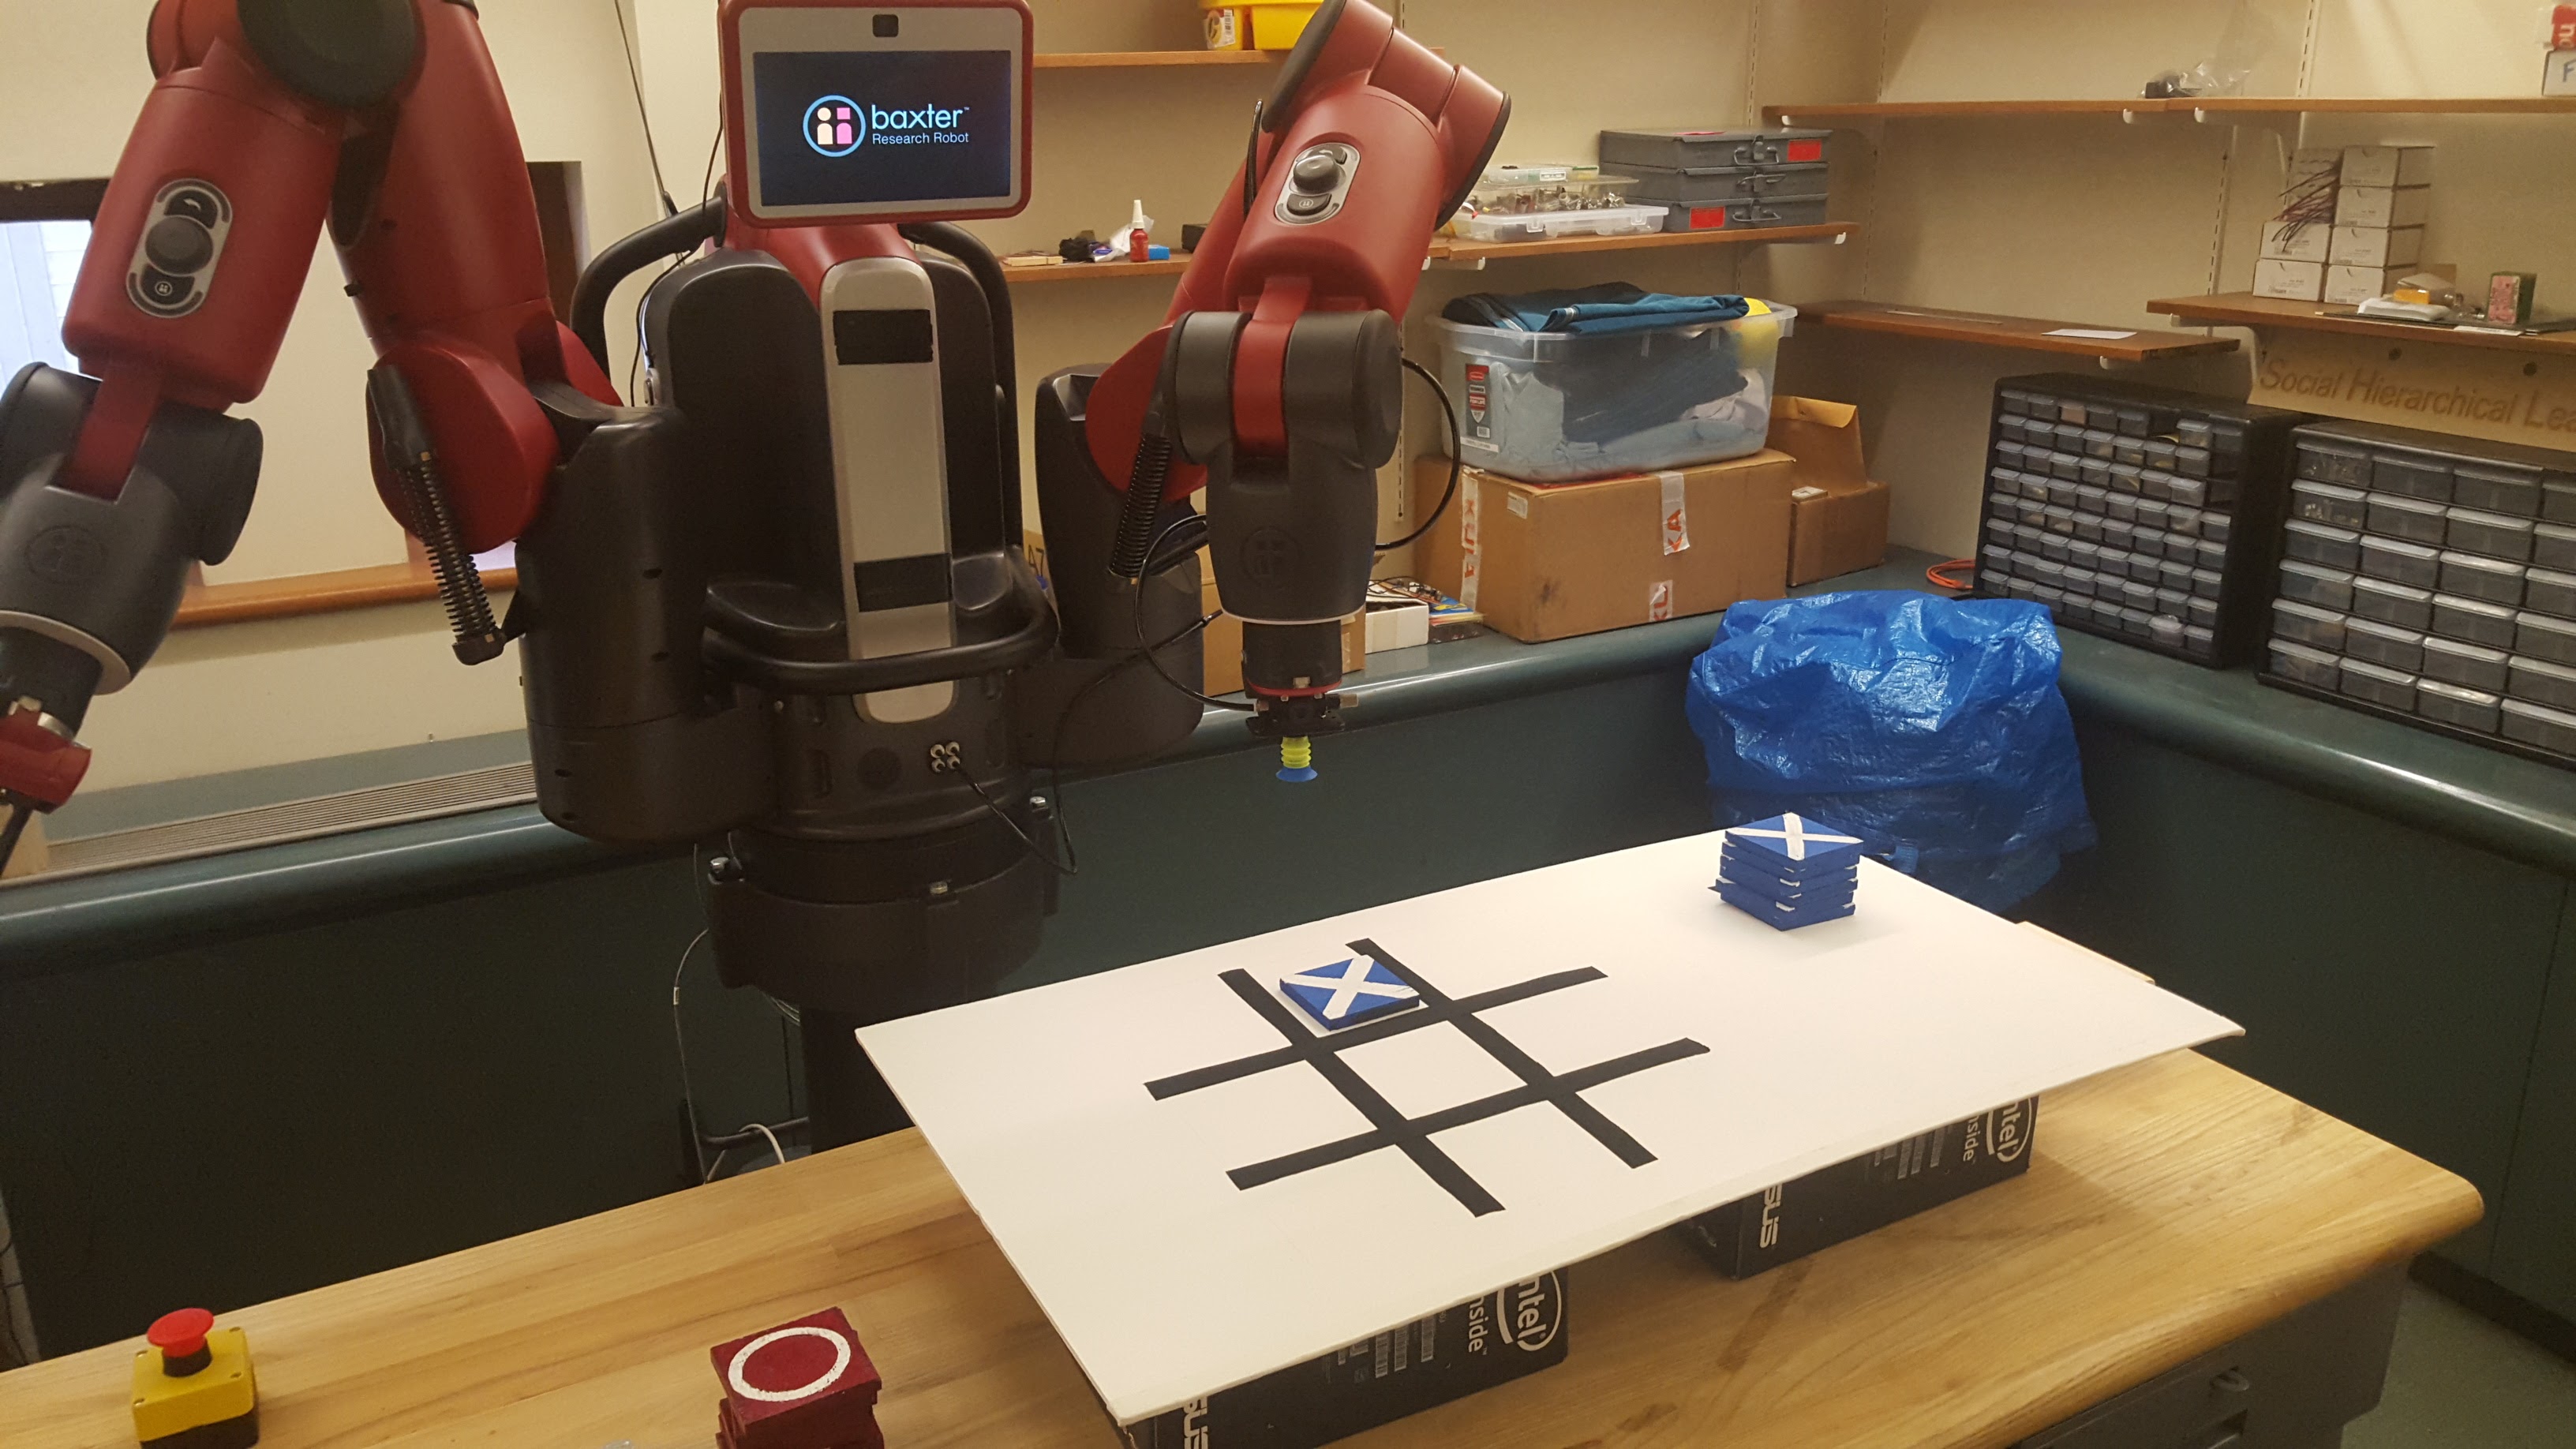
- Baxter tictactoe: The tictactoe demo is located in this repository.
They are public repositories, but to work on them you need to be either a member of the scazlab organization or to be a contributor for the specific repository.
Facts
- The ROS core is running on the robot, you just have to connect to it.
- We use a separate ethernet card to connect the computer to the robot. That way the robot is not connected to the general university network.
- Use
link-localconfiguration for the computer-robot interface. In other words the computer and the robot each find a free IP address (wikipedia/Link-local_address. - Baxter is automatically discovered through zeroconf as
baxter.local. (On ubuntu see: HowToZeroconf). - Typically you only have to set
baxter_hostname="baxter.local"andyour_ip="$(/sbin/ip -o -4 addr list eth0 | awk '{print $4}' | cut -d/ -f1)"in thebaxter.shfile. Replaceeth0by the interface connected to Baxter.
- Use
Misc
-
(Un/)Tuck:
rosrun baxter_tools tuck_arms.py -t # and -u -
Enable / Disable:
rosrun baxter_tools enable_robot.py -e # and -d -
Cameras: through topics:
/cameras/head_camera/image /cameras/right_hand_camera/image /cameras/left_hand_camera/image -
Screen: just push images to
/robot/xdisplayor executerosrun baxter_examples xdisplay_image.py --file=image.png
Collaboration
- Please edit this file to add things you think are going to be useful. You can edit it by modifying this file
- Please register to the scazlab.slack.com/#baxter channel.
